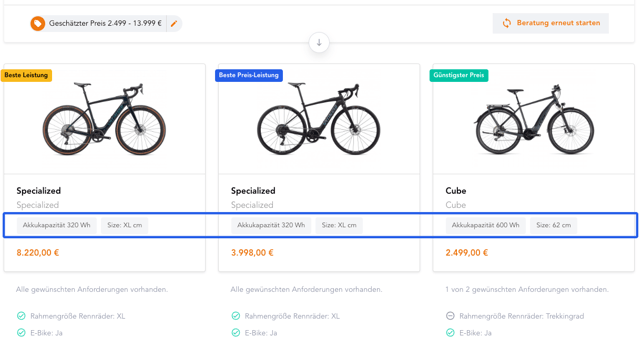
These tags show a quick summary of the most important product characteristics in the result card itself.
The best customer experience is one where they see all relevant purchase decision-making information in one easy-to-understand view.
The following article is split into the following sections:
Location
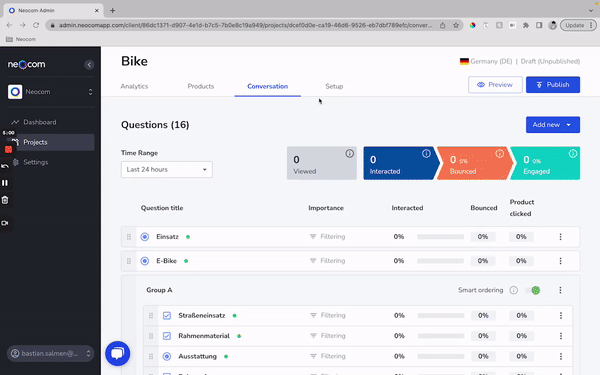
Navigate to the Setup Menu in the main navigation bar, located at the top of your Advisor. Once in the Setup Menu, navigate to the Results section (which you will find in the menu on the left of the screen), then scroll down until you see Result Card Tag. By clicking on Edit Tags a pop-up menu will appear.
Usage
There are two main things to decide when setting up new Result Card Tags.
First, what is the most important information you would like to express to the potential client to simplify their purchase-making decision? You don’t want to overwhelm them, but you want to accentuate the features that the product offers your customer so they are more inclined to make a quick decision.
The Second is what attributes within your Data Feed will best express these features. The variety of tags you can create is almost endless and can relate to only certain products, maybe those that are on sale, or all items, things like size and color.
Setup
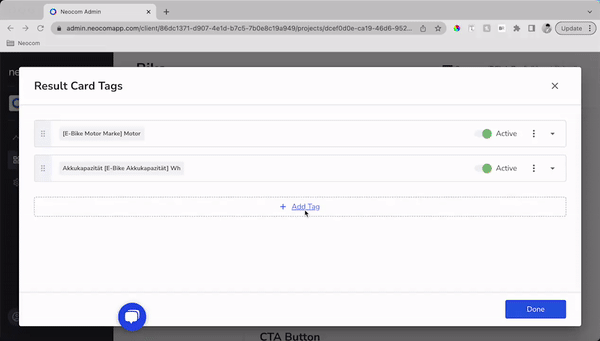
Once you have a clear picture of what Result Card Tags you want to create, it's time to start creating them. To begin, click Add Tag. If you want to edit an existing tag, use the 3 inline dots on the right of the window.
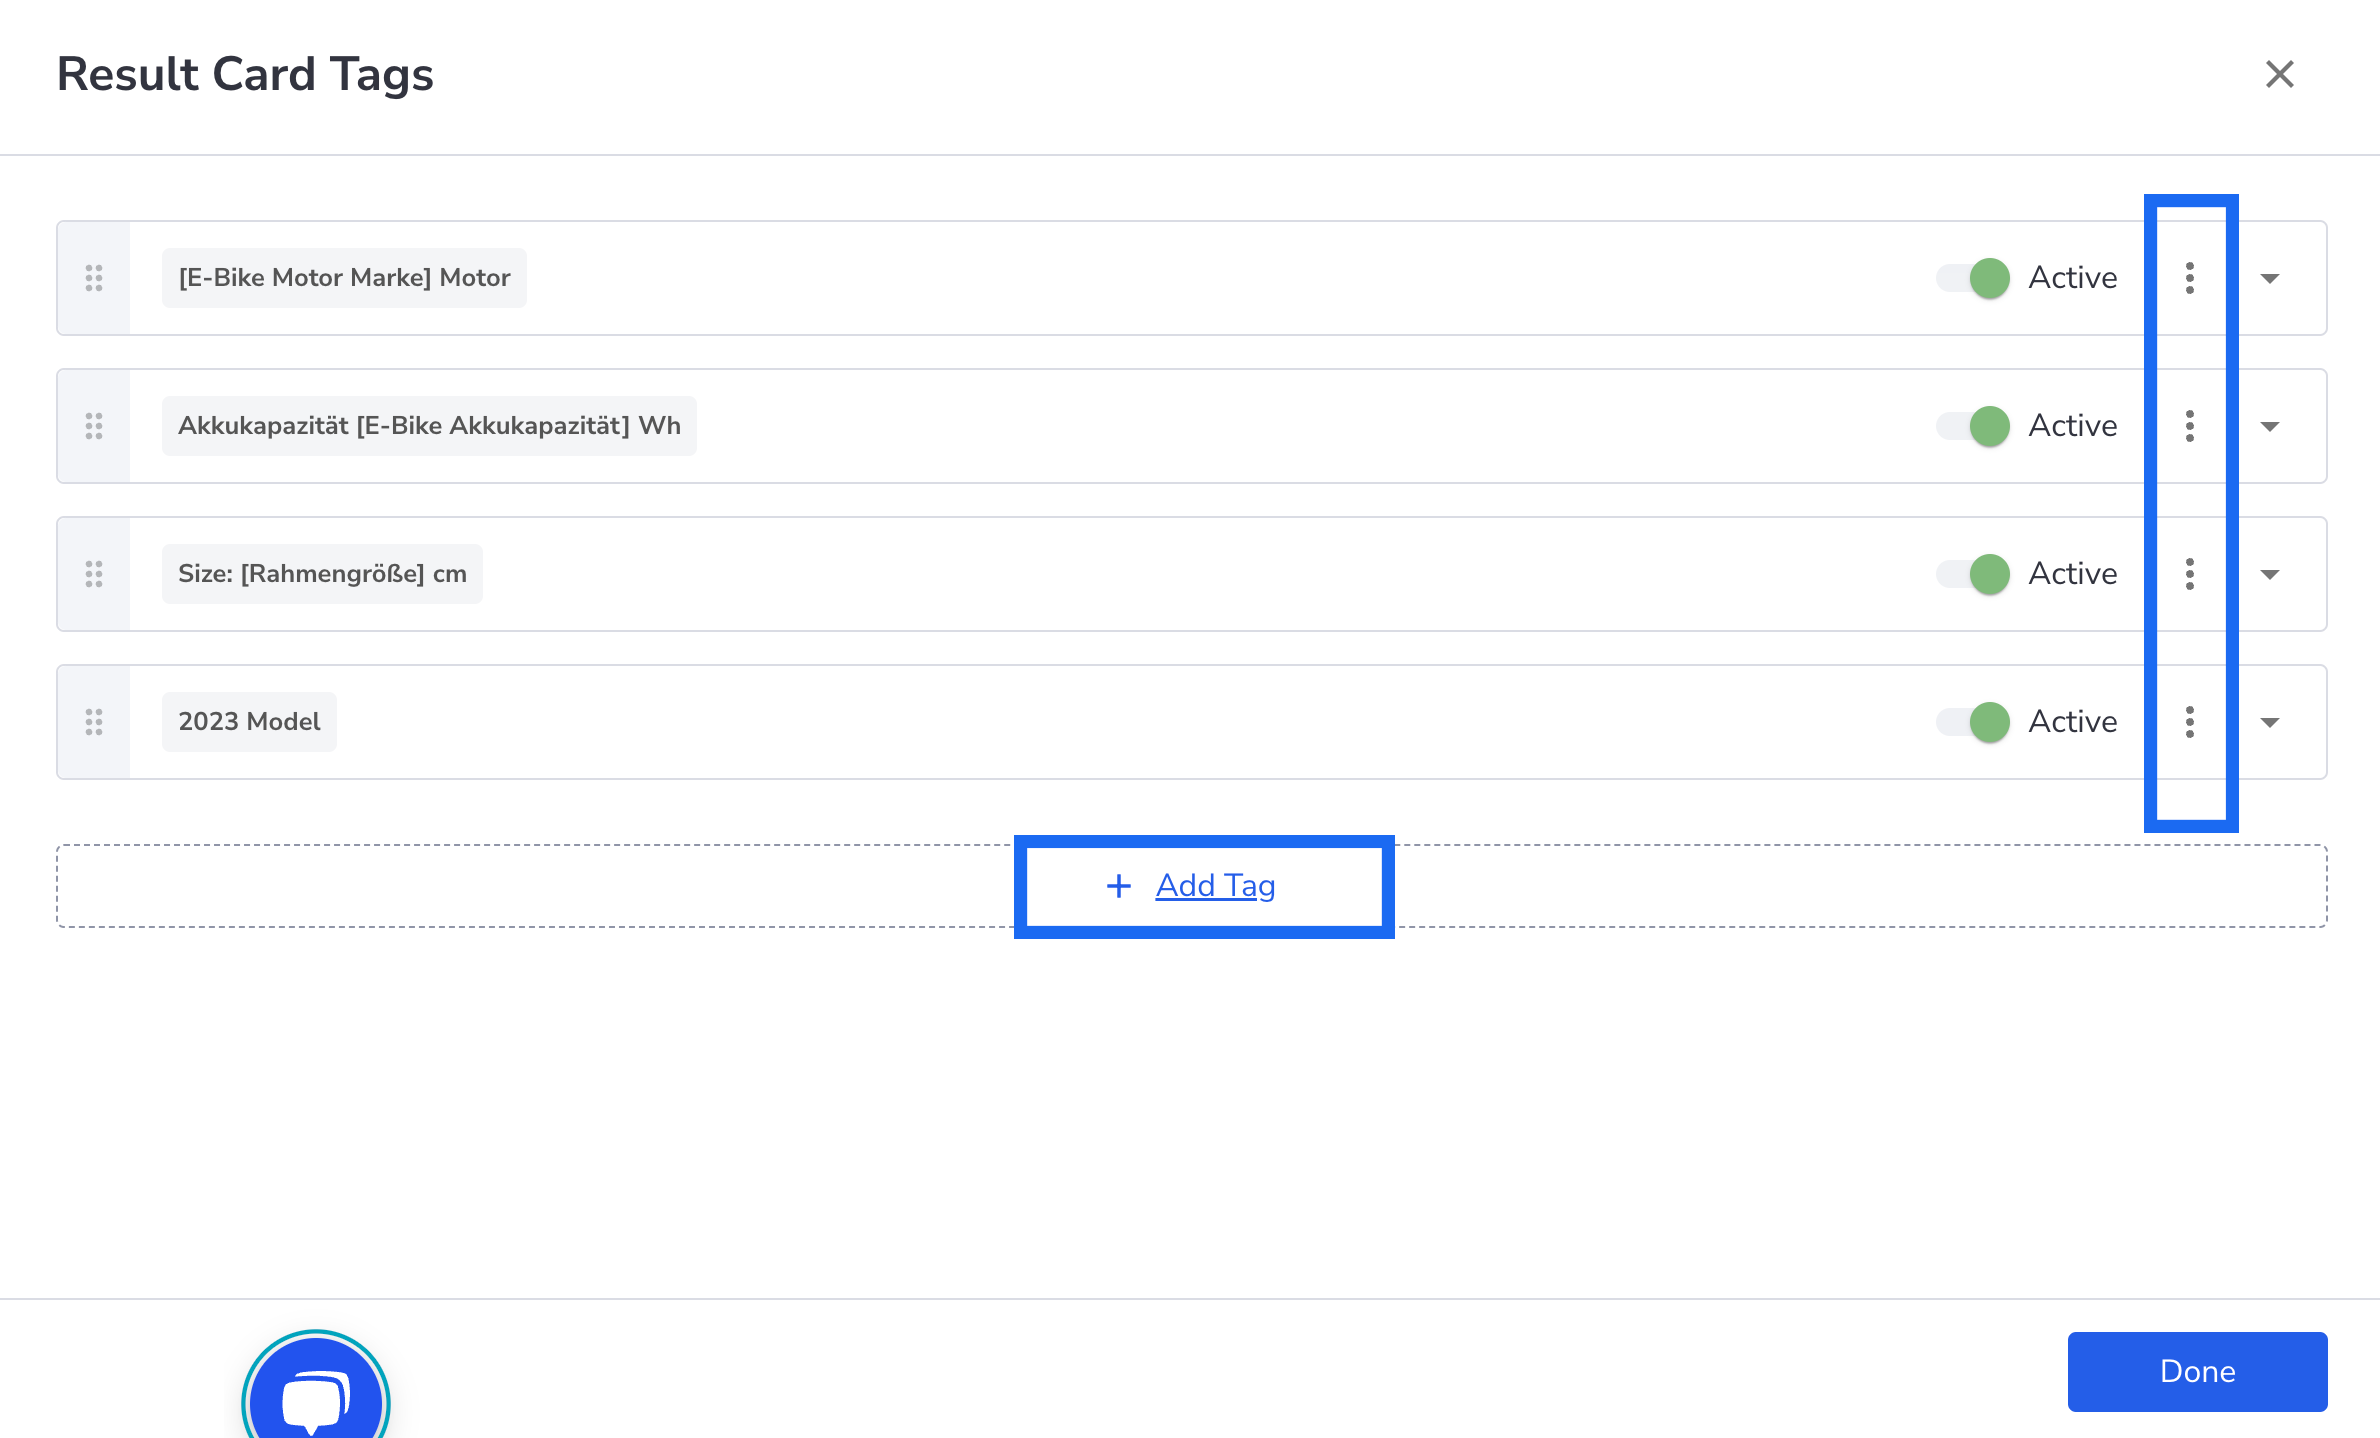
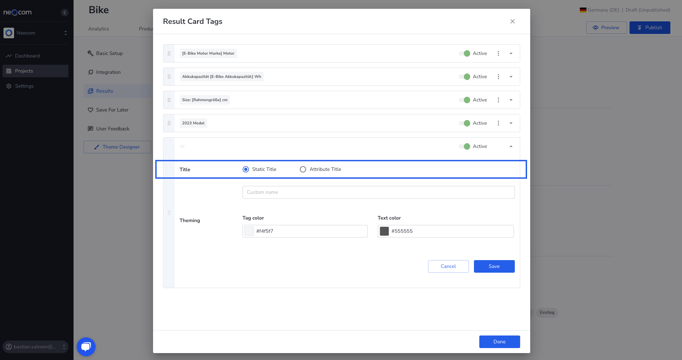
You can find the result card tags under Setup | Results | Result Card Tag. The first question is, do you want a Static Title or an Attribute Title?
A Static Title doesn’t change. If you want to push products with “Free Shipping” for example, or “Discounted”, then you can add a Static Result Tag. The Static Title you create will be shown on all products you select through the mapping you create.
An Attribute Title does change and sources its information directly from the input feed. This is perfect for, like the example above, depicting a changing attribute, important to the consumers purchasing decision. It can be used for all manner of features, Sizes, Materials, Colors, or any other type of information. This tag mirrors the information exactly how it is delivered to the Neocom Admin portal from your data feed.
Static Title
The first step is to simply enter what you would like the Result Card tag to say. You can also adjust the color of both the text and the background to match your branding guidelines at this stage. Once you have the title you wish, click Save, and move on to setting up the mapping.

Attribute Title
If you want to create an Attribute Title, the first step is to choose which attribute you want to highlight. You can then add a Prefix and/or Suffix to the attribute to clarify its meaning. Things like “Size” as a prefix and “cm” as a suffix will clarify to users that this indicates the size of the product, in centimeters. Once you have the title you wish, click Save, and move on to setting up the mapping.
Mapping
The final step. Setting up the mapping that defines when this attribute should be displayed. It uses the same logic as found when mapping answers. It may be you want this tag only visible on certain products, maybe those on sale for example, or the Result Card Tag references a certain feature only found on limited products.
A Result Card Tag explaining the Battery Capacity of an E-Bike is relevant for E-Bikes, but not for normal bikes, for example.
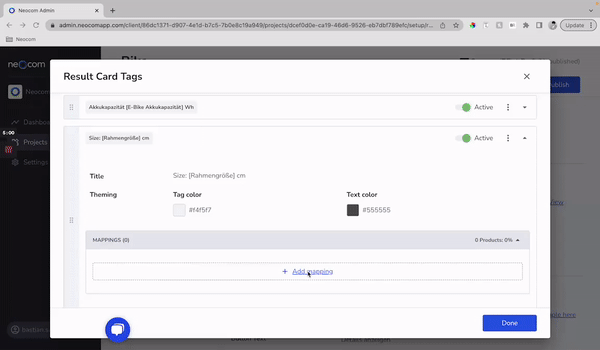
You can select all products that have this particular attribute curated by setting the condition, NOT EMPTY, which will automatically add the Result Card Tag to each of the products. You also have the opposite possibility. If you select the condition EMPTY, the Result Card Tag will be added to each product where that particular attribute is not curated.
Once your mapping is complete, Save, and the number of products where this tag will appear in the green banner above the mapping section. Then, all that is left is to Preview your advisor to see your new Result Card Tags. If you are happy with your changes, hit Publish to export the new change to your live version of the advisor.